One of the questions I get asked the most is “How do you get your sun flare images or sun filled images to look the way they do? “
I wish I had a simple answer because I would have no problem sharing! I’m actually going to show you some of my sliders in Lightroom so you can see a little bit of what I do. I love sharing tips, and I always feel like I’m just paying it forward for all the awesome things I was able to learn online when I started!
I always shoot backlit… like literally 98% of the time. It is just how I prefer the light in my images, it rids shadows, and is always more flattering on faces/skin…. so naturally if the sun is out I’m going to have lots of sunny light coming in. I do this by adjusting the exposure to the face, not the entire frame. Taking the best average exposure is never going to give me the look I strive for. I want the face perfect and then I work around that.
But here is the honest and brutal truth about these images:
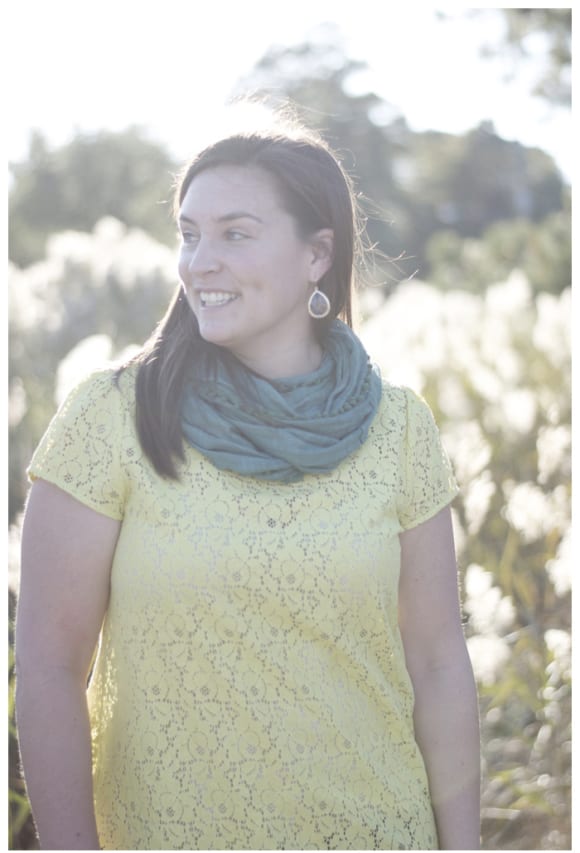
1. It has taken me 2 years to get them where they are now. Lots and lots of practice, there is not really an “easy” way to learn how to do these. See… here is one of my first attempts…. yikes! My exposure actually was not terrible, I just was clueless with the editing….. I wish I had the RAW file and I would re-edit with my new style.
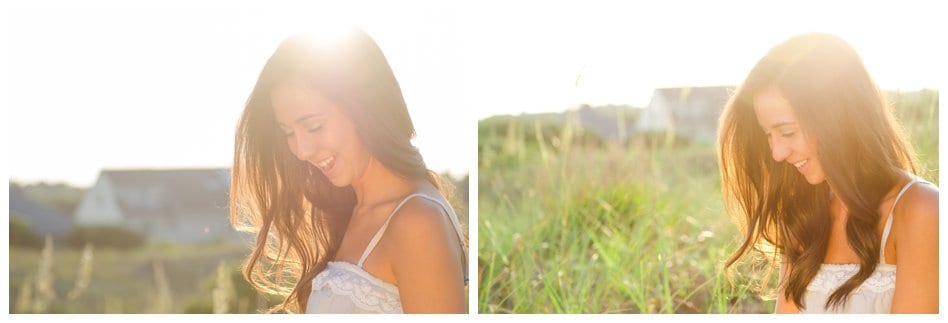
2. Here is something that can help! The position of the sun… I used to always think i had to put the sun right above the subject, as you can see here it blows out the top of the head….. this is not wrong or bad, but over the last year I learned I like it better if I place the sun off to the side. And by that I mean I move my body not the sun lol.
These are a little over a year ago… so progress, but not as strong as my images are now. But see how the image on the left, the sun was right above, then I moved myself slightly to get the sun to her right….
3. Most of the time I get a good exposure out of camera. The more “oops” you have in camera, the more difficult it will be to edit. So see the is one I barely adjusted the exposure at all.
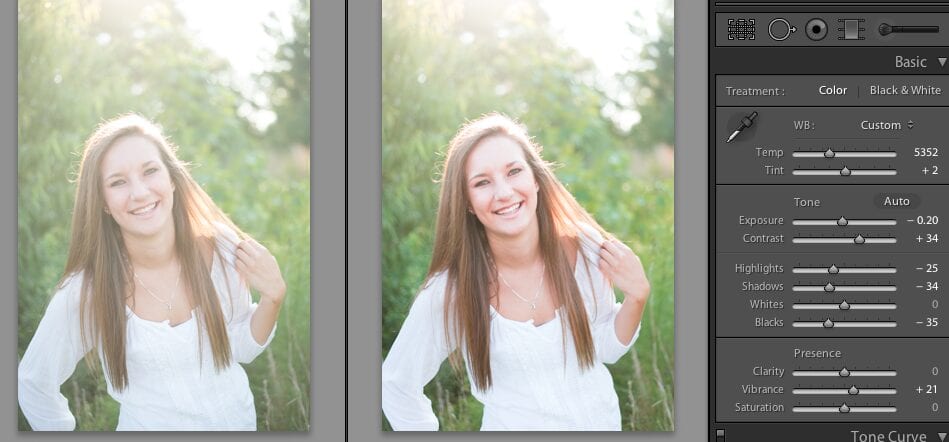
4. No two sun flare images are the same….so the copy and paste or sync settings just don’t work for these, at least not for me. Each individual photo takes a lot of time and attention. I have however created some brush tools that help me a bit. Creating some things like this for yourself will save you time later….. BUT that is just a starting point, I still have to adjust each slider. I have yet to create a preset, but its on my list! And when/if I do I will gladly share them! (And by share I mean sell, because lets be real, that would be awesome!)
Here is a pictures of my brush, I call it “sun flare face” because it helps me bring out facial features with out changing the whole image. WARNING: This does not mean your images will look like this is you duplicate the settings… EVERY pictures is so different. If you really want images like this be ready to dedicate hours. BUT this is a nice starting point, then adjust from there.
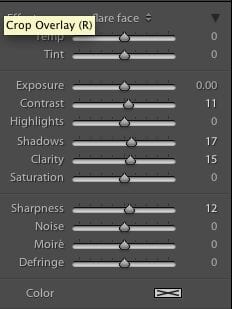
Then here you can see how different the adjustments are than from the image above….. each one has its own personality and it takes a lot of playing/adjusting to get them just right. 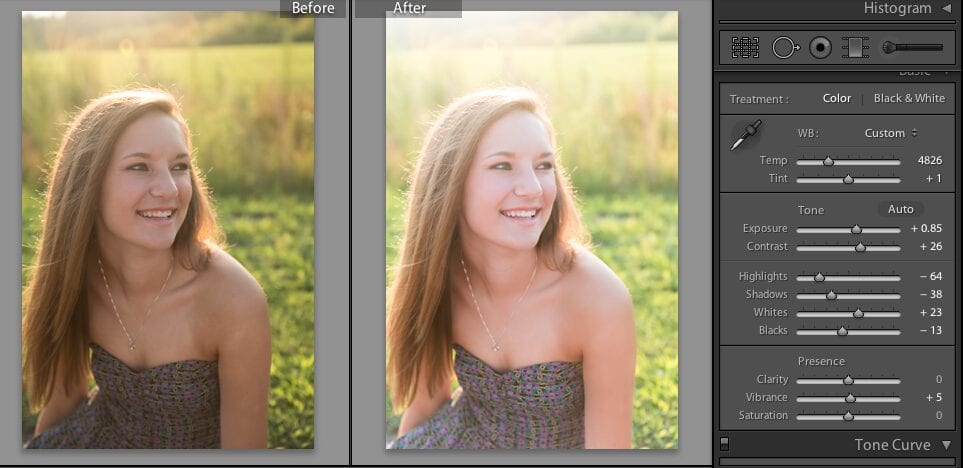
I still struggle with consistency in the colors because the sun and its reflections are always changing! Just like the middle image (#3) is a little cooler, and the bottom (#4) is very warm. They were taken about 45 minutes apart, which is a lot closer to sunset. The surroundings were different, there are so many factors that will change your photos.
While my sunny images have gotten better over the years, I can’t say that editing has gotten faster…. in actuality they probably take me longer to edit now because I want them to be just right, and I know the look I’m going for.
I’m always learning more, so in a year who knows if this will even still be how I rock my edits….. but I love the process and thats what makes this little job so fun <3